eSIM & WiFi in Japan: Staying Connected
On a pilgrimage you live in your map app — checking which exit a station has, comparing a real street to a screenshot, catching the next train. Patchy connectivity turns a smooth day into a stressful one, so sorting data before you arrive is one of the highest-value things you can do.
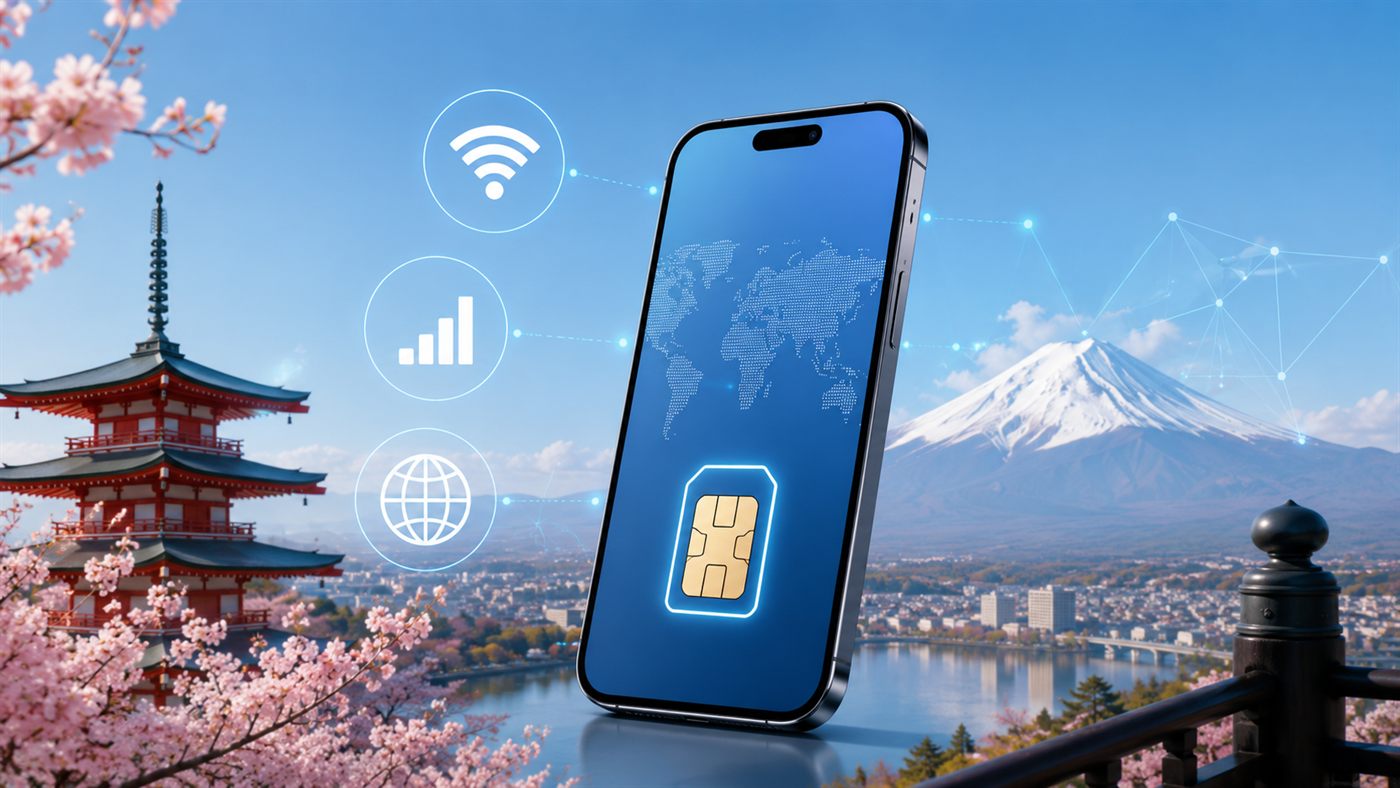
Your three main options
- eSIM. A digital SIM you install on a compatible phone, usually by scanning a QR code. You can buy one online before you fly and have it active the moment you land — no physical card, nothing to collect at the airport. For most modern-phone travellers this is the simplest choice.
- Pocket WiFi. A small rental hotspot that connects several devices at once. Good for groups or for travellers whose phones don't support eSIM, but it's another device to carry, charge and return.
- Physical SIM. A traditional card you insert. Works on almost any unlocked phone but means swapping out your home SIM.
How much data do you need?
Maps, messaging and train apps use relatively little data; uploading lots of photos or streaming uses far more. A casual user might be comfortable with a few gigabytes for a week, while heavy users who post and stream often prefer an unlimited or large plan. If in doubt, size up — running out mid-trip is worse than paying a little extra.
What to check before you buy
- Phone compatibility. Confirm your phone supports eSIM and is carrier-unlocked.
- Coverage. Pilgrimages often head into rural areas; choose a plan on a major Japanese network for the best reach.
- Validity and data limits. Match the plan length to your trip and your real usage.
- Tethering. If you want to share data to a tablet or camera, check that hotspot use is allowed.
Set it up the easy way
The smoothest approach for most fans: buy an eSIM online a day or two before departure, install it while you still have home WiFi, and set it to activate on arrival. You step off the plane already connected and ready to navigate to your first location. For the bigger picture, see our guide to planning your trip.